An epilogg can be as simple or unique as you’d like it to be. You get to decide how short or long, how many photos, and what links you’d like included. It’s always free to you.
creating an epilogg:
quick start guide
the basics:
Sometimes less is more and you need to share details about a death right away. In just a few short steps, you’ll have a beautiful, shareable epilogg that you can come back to and edit or update at anytime.
Step 1
Type the name, date, location.
Step 2
Upload a profile photo from your computer, tablet or phone if you’re ready.
Step 3
Add a quick note, service information or service TBA, whatever you’d like to share quickly.
Step 4
Publish, share and your family and friends can follow your epilogg for updates.
more features:
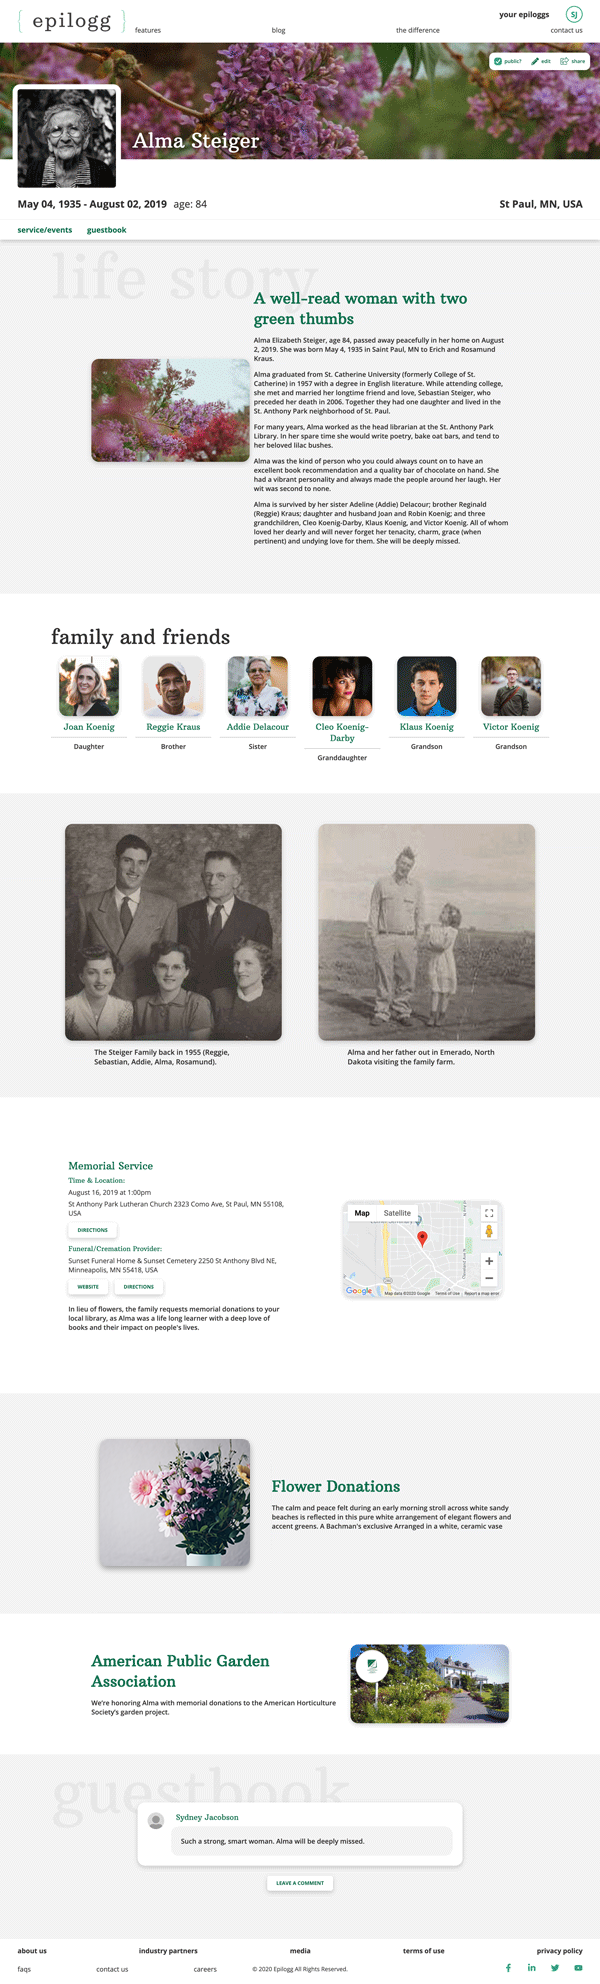
When you’re ready, add more to the story anytime. Include random photo memories or group them by occasion. Share memories or recipes or favorite sayings in text boxes. You can even schedule annual events to renew memorial giving or simply honor a legacy. It’s the perfect place to create a lasting remembrance as detailed or simple as you choose.
Step 1
Click any “+” to add a new section.
Step 2
Choose a layout of text, photos or a mix of both.
Step 3
Do this as many times as you like; sections are easy to delete too.
Step 4
Find an important photo three months later? Return anytime to add more to their life story.
quick start
create an epilogg in a few short steps
Post an event notice, upload photos, write about someone’s life, set up a donation fund…it’s all easy and you can do it all on your own time. For free.